Showing posts with label DIY. Show all posts

Tuesday, April 26, 2011

Delicious Royal Cake

Once again, Sprinkle Bakes has created something that I can't help but re-blog. Now, I haven't really been following the whole Royal Wedding shenanigans, but this cake sure looks yummy.  Prince Williams Groom Cake, which one would think would be quite lavish and "royal", truly looks and sounds simple and delicious.  Sprinkle has written up the recipe, which I think I might try the next time I try my hand at baking.


Chocolate Biscuit Cake
Lightly adapted recipe from Eating Royally by Darren McGrady                                                   

1/2 tsp. softened butter for greasing pan
8 oz. McVities rich tea biscuits, broken into pieces
1/2 stick (4 tbsp) unsalted butter, softened
1/2 cup extra find granulated sugar
4 oz. (about 1/2 cup) chopped chocolate or chocolate chips
8 oz. chocolate for icing
Cinnamon for dusting

Lightly grease a 6" spring form pan.  Set aside.  Cream the butter and sugar in a bowl until mixture has lightened in color.

Melt 4 oz. chocolate in a double boiler. Add butter and sugar mixture to the chocolate stirring constantly.  Add the egg and continue to stir.  Fold in biscuit pieces until they are all coated with the chocolate mixture.

Spoon the chocolate coated biscuits into the cake pan.  Press firm with the back of a spoon to fill in any gaps - the bottom of the cake will be the top when turned out.  Chill the cake in the refrigerator for 3 hours.

Remove cake and unmold on a wire rack.  Melt the 8 oz of chocolate (I did this in the microwave) and pour over the cake.  Spread smooth with an off-set spatula.  Allow chocolate coated cake to sit at room temperature until chocolate is set.  When set, run a spatula under the cake to remove from wire rack (chocolate makes it stick a little).  Transfer to a fancy serving platter, slice and serve.

Thank you Sprinkles Bakes for the great recipe! 


Monday, April 11, 2011

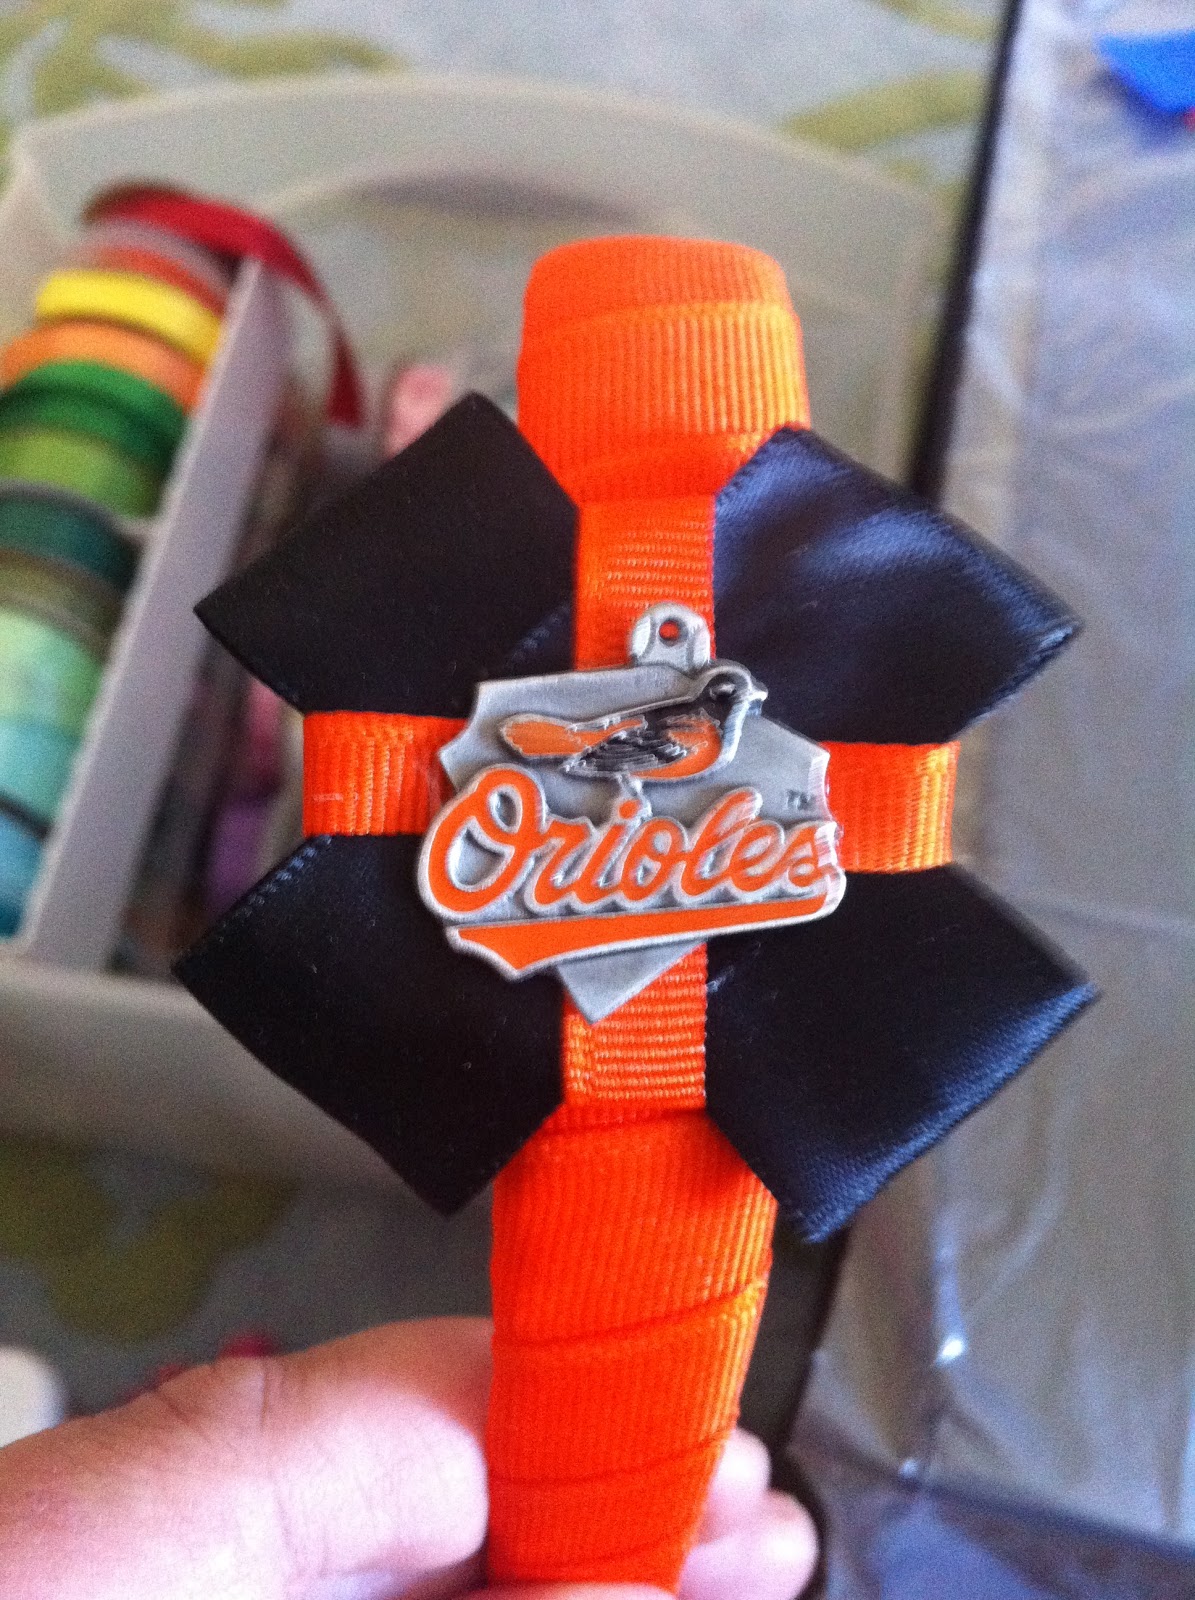
Sports Collection Headbands

This past weekend I was very busy making my new collection of headbands for Get Banded.  So far, I absolutely love the way that they came out! I have only done a few teams, but any team can be done per request!!! I can't wait to get these bad boys up on etsy and let the buying begin!

Here are a few dinky photos taken from my iphone:


Tuesday, April 5, 2011

Bring the campfire home...

I know what I'm making next!!


Warm Toasted Marshmallow S'more Bars

1 pouch (1 lb 1.5 oz) Betty Crocker® sugar cookie mix
1 cup graham cracker crumbs
1 cup butter or margarine, melted
3 cups milk chocolate chips (18 oz)
4 1/2 cups miniature marshmallows

1. Heat oven to 375°F. In large bowl, stir together cookie mix and crumbs. Stir in melted butter until soft dough forms. Press into ungreased 13x9-inch pan.
2. Bake 18 to 20 minutes or until set. Immediately sprinkle chocolate chips over crust. Let stand 3 to 5 minutes or until chocolate begins to melt. Spread chocolate evenly over crust.
3. Set oven control to broil. Sprinkle marshmallows over melted chocolate. Broil with top 4 to 5 inches from heat 20 to 30 seconds or until marshmallows are toasted. (Watch closely; marshmallows will brown quickly.) Cool 10 minutes. For bars, cut into 6 rows by 4 rows. Serve warm. Store any remaining bars tightly covered.
Find more recipes at www.bettycrocker.com.
update: I made these, and they are delicious!

Monday, March 21, 2011

Get Banded Headbands by Emily!

Check it out!!

Tuesday, January 4, 2011

Hard work paying off!

Sorry I have been so MIA.  December was a crazy month, to say the least.  Both my personal life and my professional life were extremely busy, filled with new and exciting things. I wanted to post a few things that have payed off at work this month! I have been designing up a storm for Seany Records newest artists Ruby Summer! Here is some of the different things that we have been working on! More to come!


Sunday, November 28, 2010

Thanksgiving

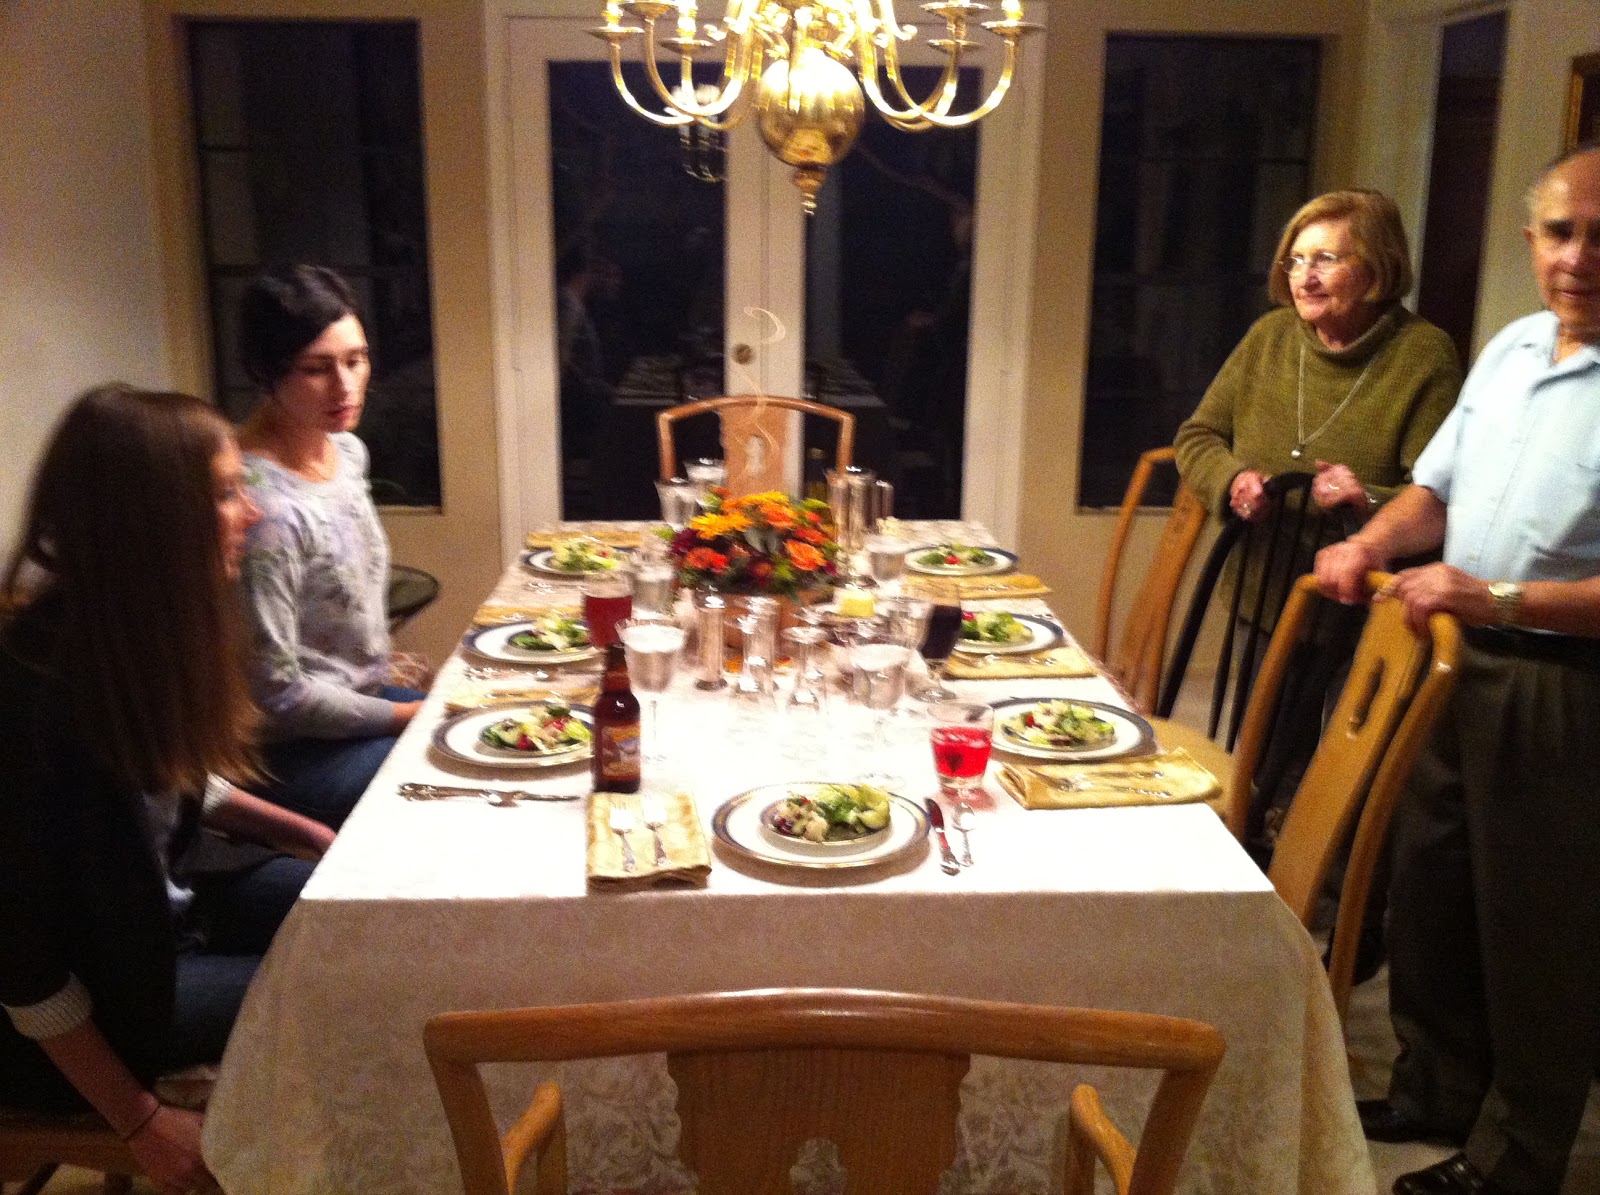
I'm so sorry that it has been so long since posting, I have been getting a lot complaints.  The past few weeks have been SOOOO busy, I haven't had time to even begin to think of things to post.  But now that the holidays are over, I can finally relax and sit at my computer.

Our thanksgiving was amazing even though the usual family wasn't all there. But Alex and Melanie were here as well as my grandparents, and even my roommate Chelsea came by for the delicious meal. I made mini pies and message cookies, both of which I've posted about in the past, and they were a  HUGE hit! Here are some pictures from our Thanksgiving (sorry for the quality, I took them on my phone):


Saturday, October 30, 2010

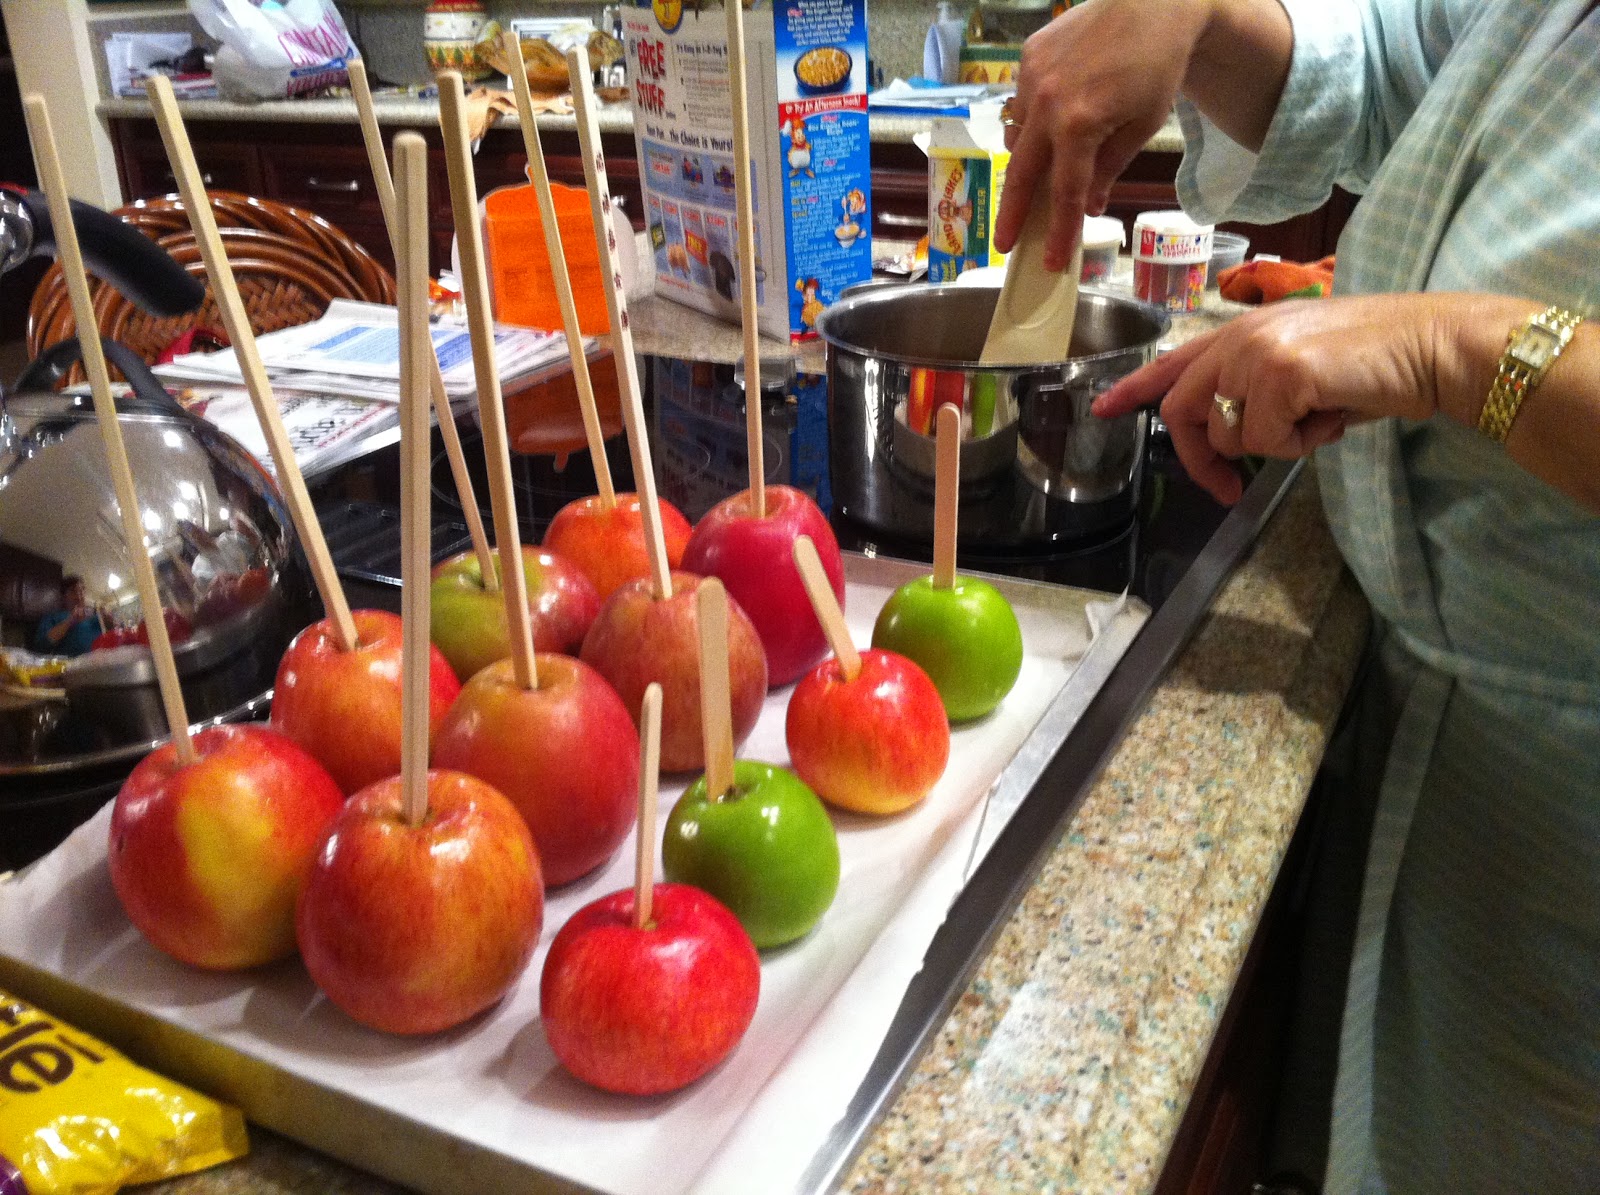
Carmel Apple Making with Mom

I'm having a little Halloween Party at my apartment tonight, so my mom and I got to work in the kitchen last night and made some delicious carmel apples.  It was actually her idea, cause I had never done it before, but they came out really great.  Here are some pictures from our fun project!!


my mom being helpful!


Pictures of the Halloween Party to come tomorrow! HAPPY HALLOWEEN!

Tuesday, October 26, 2010

Craft Night

So last night, I was feeling extra crafty (Probably because I was procrastinating all of the important things that I had to do like laundry and cleaning my bathroom) so I stopped by Michaels and Beverly's on my way home from the gym.  I decided I was going to do the DIY article that I wrote about previously Fun and Easy Ways to Customize your Space... and create some memo boards for my new apartment.  I also had the bright idea that I could put fabric behind a picture frame, and then use the picture frame as a whiteboard using dry erase markers. I wanted make one for my room, so I bought a beautiful frame that was 40% at Michaels (I love sales) and a smaller one for my kitchen so that my roommate and I could leave each other notes haha. I also bought little pearl brads and some flat pins, and glued them together to make some really cute push pins for the boards.

So after an hour of blood, sweat and tears (minus the sweat and the tears) I finished all of my projects.  My roommate helped me hang up the bulletin board in our living room (which is still a work in progress, so please don't judge) and they look adorable. Here are some pictures of the finished products.  I took the pictures with my iphone today, so they aren't the best quality, but I wanted to share with all of you right away!


Monday, October 18, 2010

Fun and easy way to customize your space...


Thanks to Janice at Creative Comforts, I found instructions to make some really cute canvas frames! I just moved into my apartment a few weeks ago, and my roomate and I are trying to update the living room area with some decorations. I think that these would go perfectly in the room, with the right fabric, and I can't wait to try it out.


This is a quick and easy project that can be customized sim ply by choosing a piece of your favorite fabric. You can make one or several to piece together in a mosaic, see below..

Gather together these items: Canvas Frames (any size, picture is 8" squares), Cork Liner(AVAILABLE HERE, or at local craft/hardware store), Marking Pen, Scissors, Staple gun, Fabric Remnants (a bit larger than your canvas size)

Using your canvas frame as a template, trace into the cork sheeting and cut out.

Flip your canvas over so the front side is facing you and place your cut out cork piece on top. Using your staple gun, secure at the four corners and in the center of each side.

This creates a thin cushion for your push pins.

Cut a piece of fabric approx 1" square larger around the perimeter than your canvas size. You can eyeball this, but keep in mind you need to pull the fabric up around the sides.

Lay your fabric down onto a flat surface with the wrong side facing you.

Place your canvas, cork side down on the fabric, centering it.

Choose an edge to start securing. Pull the fabric up along the edge onto the back of the canvas frame and stable in the center. Place a stable in the left and right corners. Working on the opposite side, pull the fabric tightly and staple to secure. You will then need to tuck the fabric in at the corners, pull it up and staple.

Just like wrapping a gift! Repeat with the remaining sides.

Create some push pins with some DECORATIVE items and you're done! I will post pictures when I make mine! Can't wait to get crafting..

Text + Photos Copyright 2009 Janice Rusnak